How to Fill and Cap Cannabis Vape Hardware: A Production Guide for AIOs and 510-Thread Cartridges
Plan a controlled fill-and-cap validation for AIOs and 510 cartridges using current hardware instructions, pilot lots, process records, and QA checks.
How to Fill and Cap Cannabis Vape Hardware: A Production Guide for AIOs and 510-Thread Cartridges
A good vape fill starts well before oil enters the tank. Temperature, viscosity, needle selection, fill technique, capping speed, post-fill orientation, and rest time all affect how the oil reaches the atomizer and how the finished device performs. Treat those variables as one controlled process and production becomes easier to repeat, document, and improve.
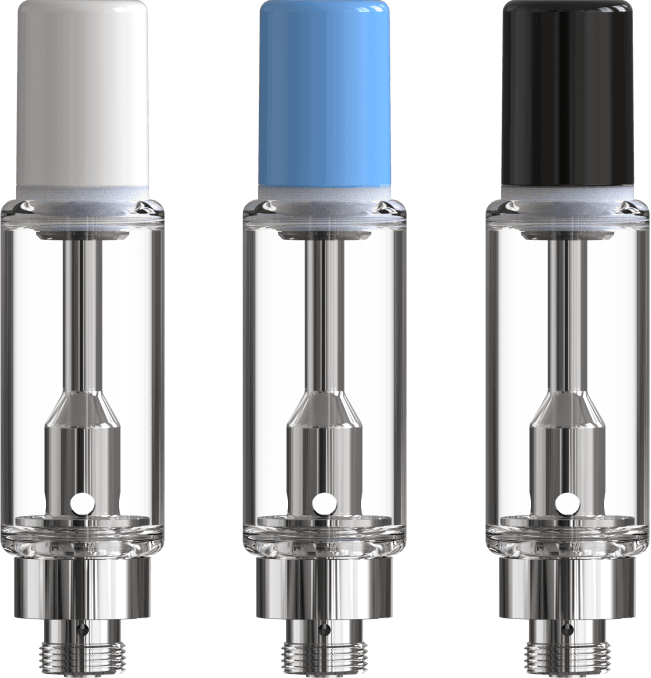
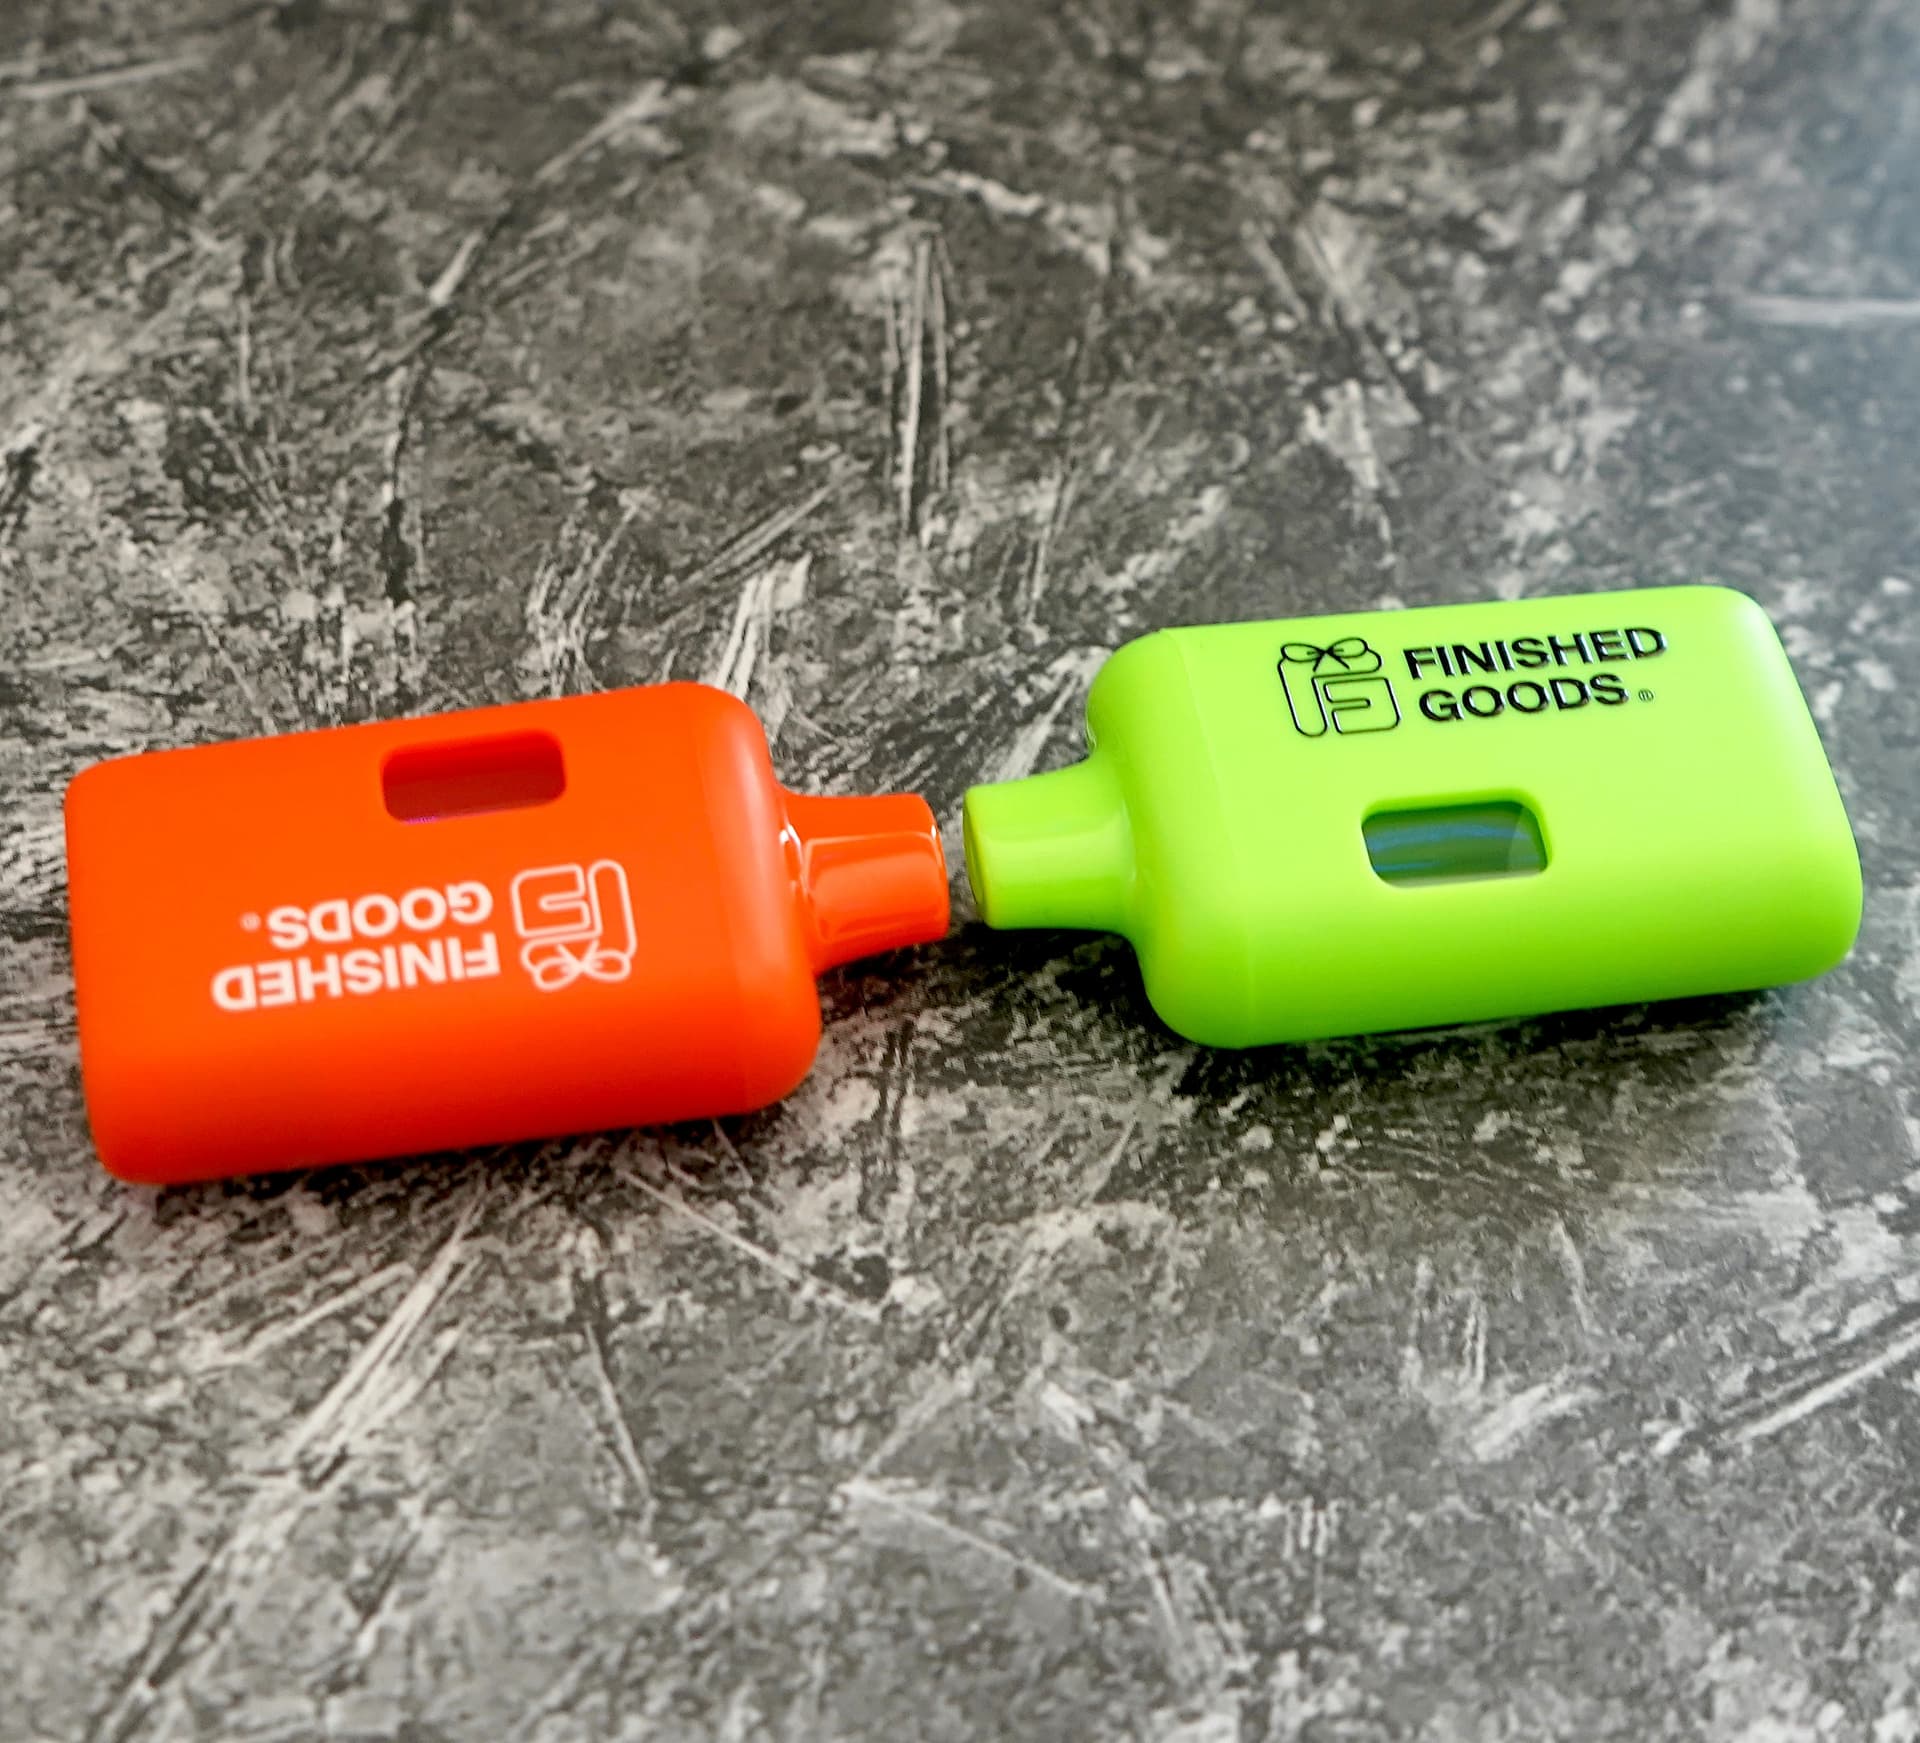
This guide explains the essential steps for filling and capping Finished Goods all-in-one (AIO) devices and 510-thread cartridges. It is intended for production teams working from an approved formulation and should be used alongside the terpene supplier's standard operating procedures, the product specification sheet, and the instructions for the filling or capping equipment in use.
1. Prepare a Clean, Controlled Filling Station
Start with a clean work area that is free of dust and debris. Operators should wear gloves and eye protection, and every material, tool, and device should be staged before the fill begins. Follow the terpene supplier's procedures for mixing, heating, and handling the concentrate.
Preparation matters because the fill window is time-sensitive. Once a unit is filled, it should be capped promptly. Searching for mouthpieces, adjusting a fixture, or changing equipment mid-run makes the process less consistent.
2. Heat for Flow - Not for a Universal Number
There is no single correct filling temperature for every oil. Formulation, terpene percentage, room temperature, dispensing equipment, and hardware geometry all influence how an oil behaves. The practical target is the lowest temperature that allows the concentrate to travel cleanly to the bottom of the device.
Use a temperature-controlled oven or hot plate. Never use a microwave or an open flame. Record both the reservoir temperature and the dispensing temperature because the oil can cool as it moves through the line, syringe, or needle.
Viscosity is the most useful visual cue. If the oil flows too freely, it may reach and oversaturate the atomizer before it has cooled and thickened. If it is too thick, it can stall near the top of the tank. Establish a documented formulation-and-hardware process window through a pilot fill, then adjust temperature only within the applicable supplier and equipment instructions.The goal is not "hotter." The goal is controlled movement with the least heat required.
3. Match the Needle to the Hardware
Needle selection affects fill speed, placement, and the operator's ability to avoid internal surfaces. Use the dispensing-needle size and geometry specified for the exact hardware and filling setup. Confirm the selection in current product instructions and a pilot fill; do not carry a gauge recommendation from one 510 or AIO model to another.Insert the needle to the bottom of the tank, then withdraw it slowly as the oil is dispensed. This bottom-up technique helps the tank fill evenly and reduces the chance of trapping air or coating areas that need to remain clean for capping.
Use the model-specific fill weight or volume and headspace stated in the current product specification. Confirm the target in a pilot run and inspect cap seating and seal integrity before releasing a larger batch. Overfilling can interfere with the seal, while underfilling can produce an inaccurate finished unit.4. Cap Every Unit Promptly and Evenly
Cap each device within the model-specific fill-to-cap window stated in the approved process. If capping by hand, use the method and seating criteria for that hardware model. An angled or partially seated cap can compromise the seal even when the device looks finished at a glance.Automated capping requires additional control. Pressure settings vary by machine and hardware model. Too much force can crack a tank or damage a seal; too little can leave the mouthpiece incompletely seated. Many automated setups also require a custom jig that supports the device in the correct position.
Consult Finished Goods before establishing automated capping parameters. Confirm the fixture, pressure, alignment, and acceptance criteria with a small run before releasing a full batch.
5. Use the Post-Fill Flip Only When the Oil Requires It
The "flip" is not a universal step. It is a response to oil that becomes thin at the dispensing temperature.
Use post-fill inversion only when it is part of the approved process for the exact formulation and hardware. Define the orientation, duration, and return-to-upright step in the batch record based on current product instructions and pilot evidence; do not apply one flip rule across the catalog.If the oil remains more viscous, the flip may be unnecessary; keep the devices right side up.
Postless devices, including the Finished Goods Supermini, Pod System, and Pure 2, may require different post-fill handling from other formats. Use the current SKU-specific instruction and formulation pilot rather than a universal terpene percentage or orientation rule.Orientation should therefore be written into the batch-specific process - not left to operator habit.
6. Use the Approved Conditioning Window Before TestingAfter any required flip is complete, return the units to an upright position and rest them for at least 36 hours before testing or packaging. This period allows the atomizer to saturate fully.
Do not test-fire a freshly filled unit. Activating the device before oil has reached the atomizer can permanently damage a dry atomizer and create a false failure during quality control.
When evaluating a new formulation, do not shorten the rest period to accelerate a decision. A consistent conditioning window makes results easier to compare across samples, operators, and production dates.
7. Control the Storage Environment
Store filled units within the temperature, light, and orientation limits documented for the exact hardware and formulation. Protect them from direct sunlight and large temperature swings, and record any excursion because changing temperature can alter viscosity and post-fill performance.In hot climates or warm warehouses, store units upside down when appropriate for the device and formulation to reduce the risk of oil oversaturating the atomizer. Because postless hardware and highly viscous oils may require different handling, use the approved SKU-specific instruction rather than applying one storage orientation across the entire catalog.
Storage conditions should be treated as part of production, not as an afterthought. Record:
- Where the batch was held
- Its orientation
- The time it entered and left the conditioning area
8. Document the Variables That Make the Batch Repeatable
A useful batch record captures more than the number of units produced. For every run, document:
- Oil and dispensing temperatures
- Pressure in PSI when applicable
- Fill time
- Lot numbers
- Operator initials
- Equipment used
Record any deviation from the standard process, including temperature adjustments, line interruptions, fixture changes, or a different post-fill orientation.
These details create traceability and give the team something concrete to review if performance changes. Without them, "the same fill" may hide different temperatures, room conditions, needles, operators, or rest times.
Quality checks should also define what passes:
- Correct fill level
- Clean air path
- Seated cap
- Intact tank
- Exterior cleanliness
- The required rest period
If the business uses automated filling, note the machine program or settings associated with the batch.
9. Validate Every New Formulation with a Small Test Batch
The first fill of a new formulation should be a controlled pilot, not a production-scale assumption. Set a representative pilot quantity in the QA plan, follow the complete approved process, and complete the documented conditioning window before evaluation.Check for:
- Clogging
- Leaking
- Inconsistent vapor
- Any change across the life of the device
A formulation can look successful immediately after filling yet behave differently after cooling, storage, or repeated use. Testing the whole device provides better information than judging only the first draw.
If performance is inconsistent, review the complete process before changing one variable in isolation:
- Formulation behavior
- Temperature
- Needle
- Fill path
- Headspace
- Capping
- Post-fill orientation
- Rest time
- Storage
Finished Goods can also help assess filling parameters, equipment compatibility, and the PrecisionFlow atomizer configuration for the oil.
Build the Process Around the Oil
Reliable filling is not about forcing every formulation through one standard temperature or one handling routine. It is about defining a controlled path from reservoir to finished unit, then documenting the settings that make that path repeatable.
Start with the oil. Use the least heat required within the approved process, fill using the model-specific method, use the specified headspace or fill target, cap within the validated window, apply post-fill orientation only when required, and protect the full conditioning period. Then store and test the batch under controlled conditions.For a line-ready reference, download the Finished Goods Filling & Capping Instructions. If you need help matching a formulation, device, filling system, or capping setup, send Finished Goods the oil and the brief.