How to Fill a 510 Cartridge: SOPs for Licensed Producers
Learn how to fill a 510 cartridge with controlled oil, temperature, equipment, weight, capping, saturation, storage, batch records, and quality checks.
How to Fill a 510 Cartridge: SOPs for Licensed Producers
To fill a 510 cartridge at bulk scale, heat the oil to the lowest temperature that still lets it flow, dispense to the bottom of the tank and withdraw the needle slowly, leave 1 to 2 mm of headspace, cap within two minutes, and rest the units right side up for at least 36 hours before test firing or packaging. Those five numbers are the same ones on our official filling instructions, and they are the difference between a clean lot and a rework pile.
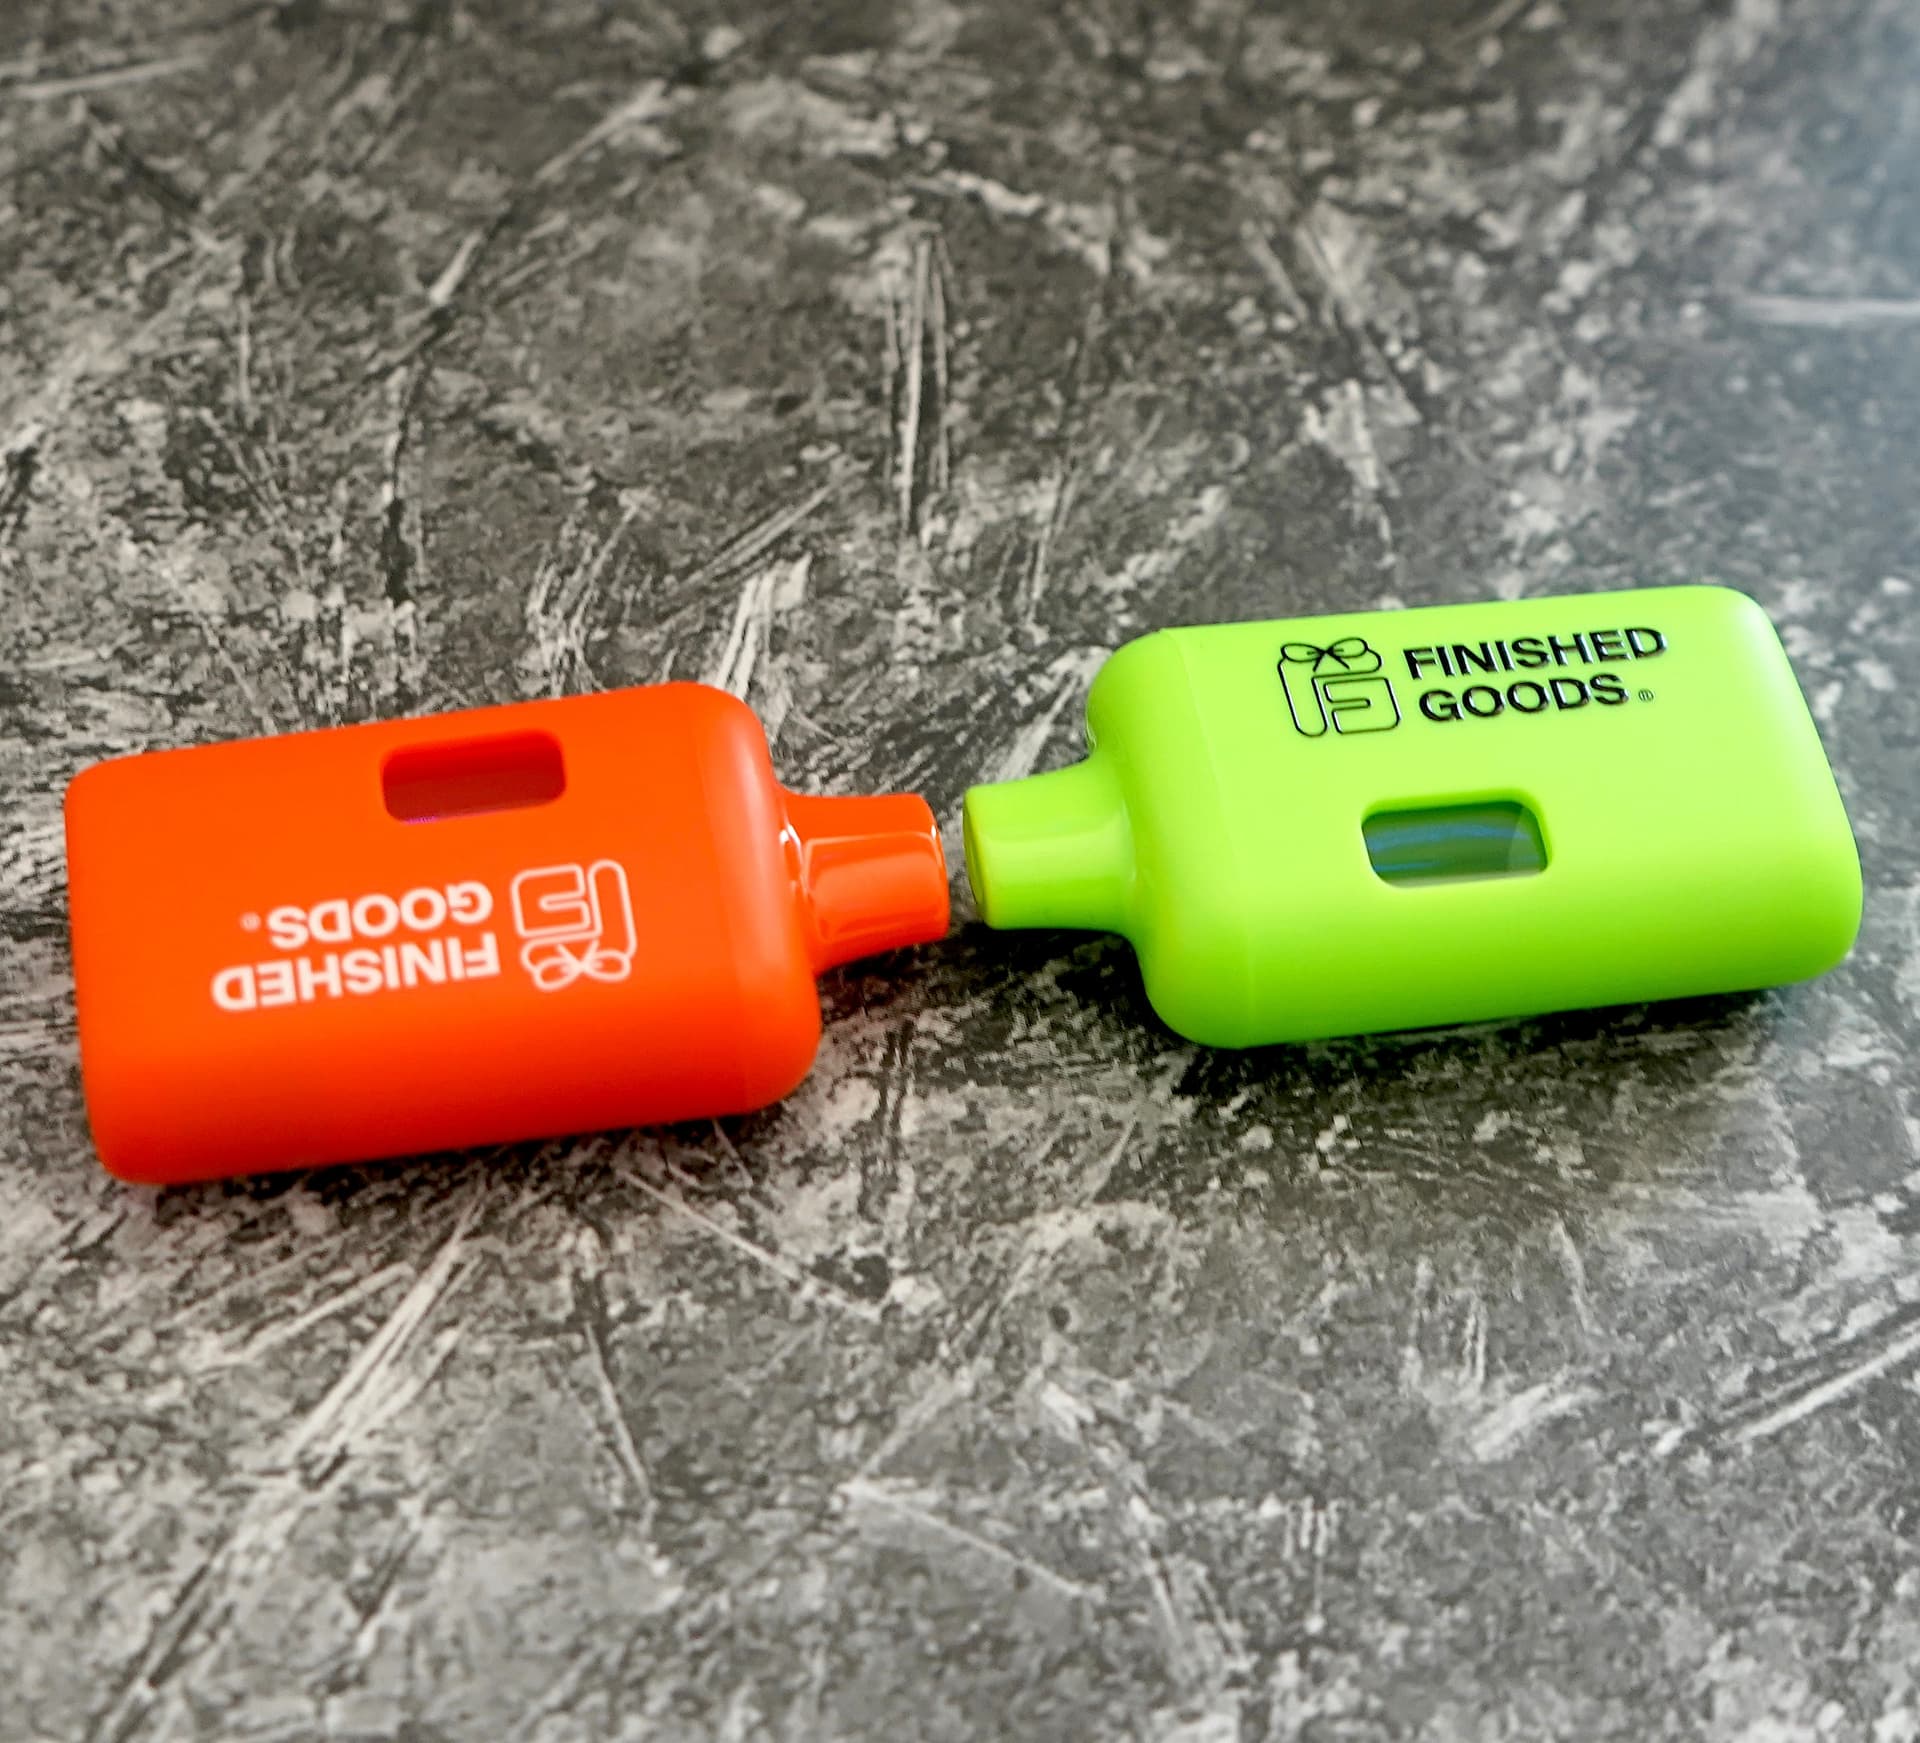
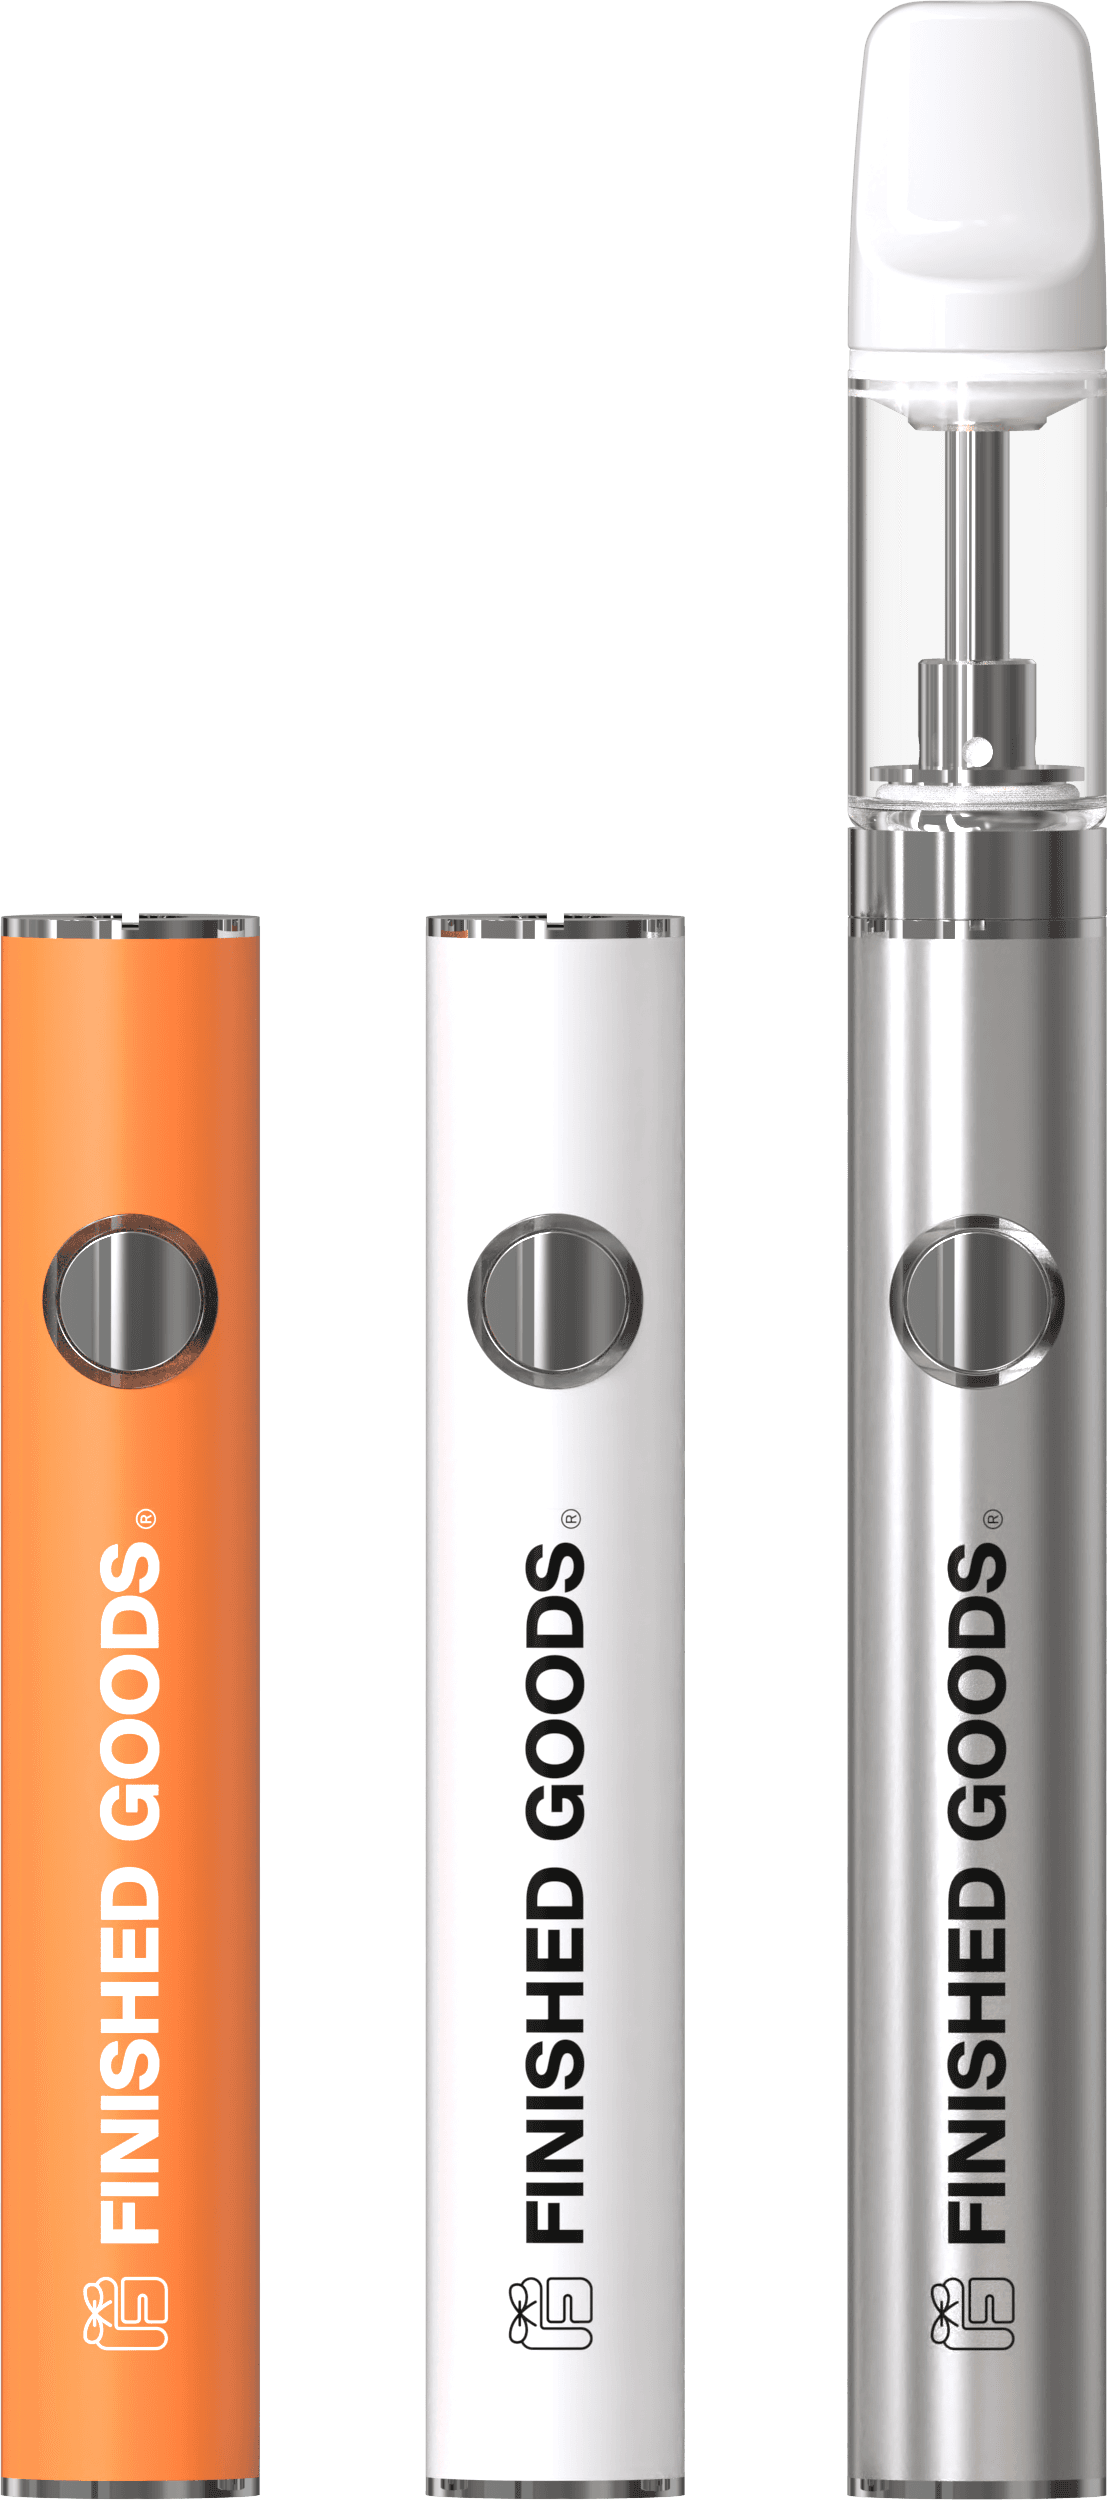
The rest of this post turns that into a repeatable SOP for the formats you are most likely running: 510 cartridges (glass or polycarbonate with a center post), all-in-ones (AIO), and postless devices like the Supermini, Pod System, and Pure 2.0.
Why Filling SOP Belongs in Your Hardware Spec Sheet
Most QA failures on a vape line are not oil problems. They are fill and cap problems. Oil in the airpath, hot thin oil flooding the atomizer, overfilled tanks with no room for expansion, units fired before the ceramic is saturated: all of these produce the same downstream symptom, which is a cart that leaks, clogs, or fails on the first hit.
Your hardware spec sheet should include:
- Fill temperature (the lowest that flows for your oil)
- Needle gauge and fill depth
- Target fill weight and headspace
- Cap timing
- Flip rule for your oil viscosity
- Rest time before test firing
- QC checkpoints before and after cap
If your co-packer or in-house line does not have these documented per SKU, you are relying on operator memory. That does not scale past one shift.
Step by Step
Heat the oil to the lowest temperature that still lets it flow. Do not inherit a number from a different SKU. Thin, hot oil is the number one cause of flooding and leaks, so start low and only raise the temperature if the oil will not dispense cleanly.
Use the right needle. A 14-gauge or smaller needle for 510 cartridges, an 18-gauge needle for all-in-ones. Insert the needle to the bottom of the tank and withdraw it slowly as you fill. This keeps the oil off the center post and out of the airpath.
Leave 1 to 2 mm of headspace. A 1.0 ml cart should not be filled to the brim. Oil expands in transit and storage, and the cap needs room to seat without pushing oil into the mouthpiece.
Cap within two minutes of filling. An open tank oxidizes and picks up contamination. Capping quickly also keeps the meniscus where it belongs.
Flip only if the oil ran thin. If your dispensing temperature made the oil run like olive oil (usually above 125°F / 52°C), store the capped units upside down for 10 minutes. The flip lets the oil cool and thicken before it reaches the atomizer. You can leave them inverted longer if your workflow requires it.
Never flip postless devices filled with low-terpene distillate or liquid diamonds. On the Supermini, Pod System, and Pure 2.0, that oil turns thick as it cools, and an inverted unit can keep it from ever reaching the atomizer. If the oil is too thick to flow, raise the temperature instead of flipping.
Rest right side up for at least 36 hours. This gives the ceramic time to fully saturate. Test firing before the atomizer is saturated will permanently ruin it, and it is the most common cause of a burnt first hit that gets blamed on the hardware.
Reference Numbers
- Fill temperature: the lowest that flows. Above 52°C, apply the flip rule.
- Needle: 14-gauge or smaller for 510s, 18-gauge for AIOs.
- Headspace: 1 to 2 mm.
- Cap timing: within 2 minutes.
- Flip: 10 minutes upside down, only for thin hot oil, never on postless devices with low-terpene distillate.
- Rest before firing or packaging: at least 36 hours, right side up.
QC Checks Before the Cap Goes On
Run these on a sample rate appropriate to your batch size, and 100 percent visual on small runs:
- Fill weight. Weigh a sample against target. Deviation over 3 percent means recalibrate the pump.
- Airpath clean. Look down the mouthpiece channel. No oil, no film, no droplets.
- No trapped bubbles at the base. A bubble at the intake starves the atomizer. Tap the unit lightly and give it a few more minutes.
- Meniscus below the cap seat. If oil sits above the seat line, the cap will push it into the airpath.
Post-Cap QC
- Leak check after rest. Store a sample upright and inverted for 24 hours. Any oil at the mouthpiece, threading, or base is a fail.
- First-fire test. After the full 36-hour rest, fire a sample at the specified voltage. Full, clean vapor on the first draw is the pass. A weak or burnt first hit almost always traces back to rest time or fill temperature.
Cold Rooms
In a cold room (around 65°F / 18°C), thick oil can pool at the top of the tank instead of flowing onto the atomizer. This happens most often in postless devices filled with low-terpene distillate or liquid diamonds. Raise the oil temperature until it flows cleanly onto the atomizer.
Where SOP Meets Procurement
If you are sourcing hardware in bulk, ask your supplier for the fill SOP that matches their tolerances, not a generic one pulled from a competitor's site. Tank diameter, intake size, ceramic porosity, and cap geometry all vary between SKUs, and a fill process tuned to one cart can produce clogs on another that looks similar. Our hardware ships with the filling instructions above and is compatible with Thompson Duke, DDS, ATG Pharma, and Vape Jet lines.
If you want a filling SOP built against the specific hardware you are evaluating or already running, our team can put one together against SKU-level tolerances. Reach out through the contact page with your hardware and oil profile.